
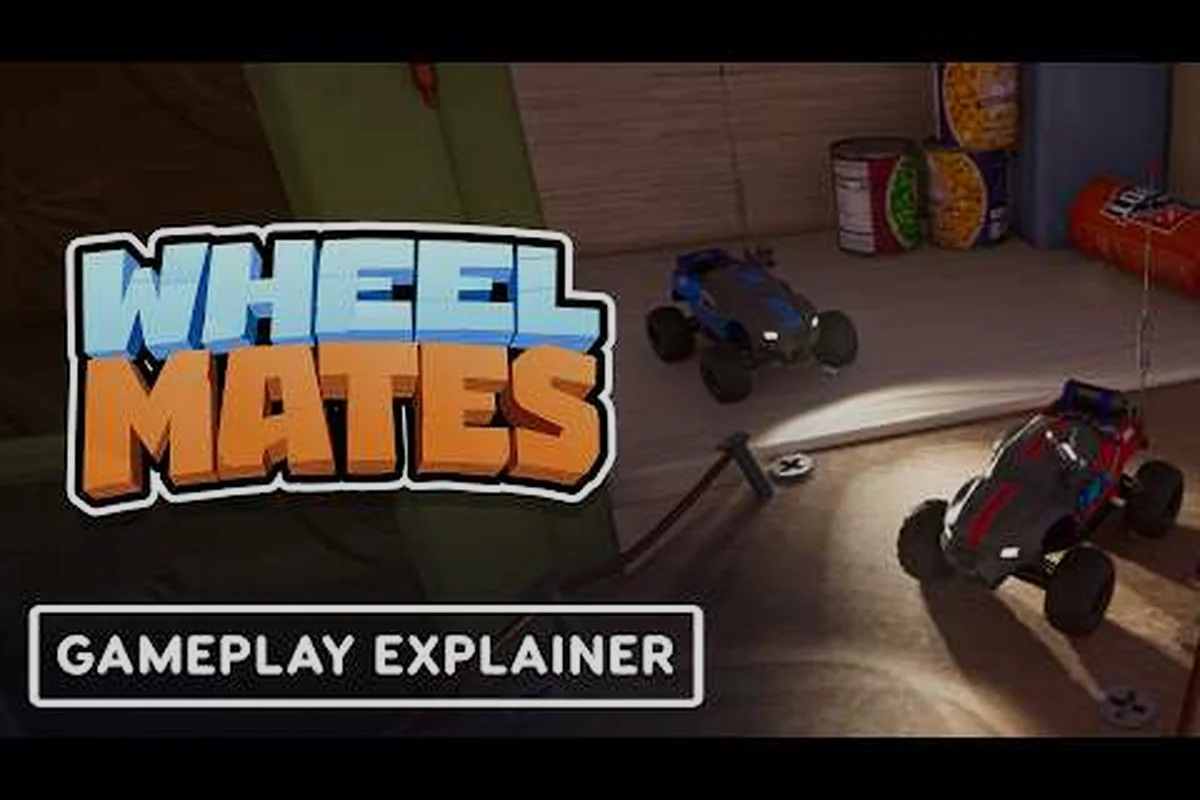
The WheelMates ending walkthrough is the last thing co-op teams need before the credits roll. Stuck in the professor's lab and can't escape? This guide maps the exact route, gadget order, and the traps that stop players cold. The finale pulls together every mechanic you've learned across the house, so knowing what to expect saves you from repeating the same room twice.
The WheelMates Ending Walkthrough: What the Final Rooms Demand
The final stretch of WheelMates abandons the room-by-room pacing of the garage, kitchen, and backyard for a much more aggressive sequence that forces both cars to use every gadget at the same time. According to the official WheelMates on Steam page, the game is a two-player co-op driving adventure through a professor's hidden home laboratory, and the finale turns that entire lab into a single escape room. The ending is built around three distinct phases, each with its own failure condition, and the order is fixed — you can't skip ahead, and you can't leave a phase half-finished.
The three phases are the pressure-plate alignment room, the conveyor-belt timing gauntlet, and the door-lockdown escape. Each phase seals the lab's exit behind you, so there's no backtracking — miss a single plate in Phase 1 and you'll restart the entire room, not just the puzzle. Phase 2's conveyor belts run at mismatched speeds, forcing both wheelmates to sync their rotations before the floor gates unlock. Phase 3 triggers a 90-second emergency lockdown countdown, demanding you hit the four wall switches in the correct sequence before the exit door seals permanently.
-
The Escape Lock: the lab's main door is sealed by a green chemical lock that both cars must charge simultaneously at a Magnetic Charge Station.
-
The Lab Sentry MK-1: a patrolling mini-boss that blocks the corridor and can only be disabled by pulling two power cells with the Magnet Grab.
-
The Rope-Swing Gauntlet: a timed crossing over a chemical pit, followed by the Exit Door that needs two pressure plates held at once.
Each phase takes roughly 4-5 minutes for a coordinated team, so the whole finale runs about 12-15 minutes on a clean attempt. Community testing from the June playtest suggests that most players get stuck on the Lab Sentry MK-1 because they try to fight it head-on instead of using the environment around it. The table below breaks down the full sequence:
| Finale Phase | Gadget Required | Failure Condition | Time |
|---|---|---|---|
| Escape Lock | Magnetic Wheels | Charge resets if a car leaves the station | 2-5 minutes |
| Sentry MK-1 | Magnet Grab | Sentry catches either car | 4-6 minutes |
| Rope-Swing Gauntlet | Rope Swing | Car falls into the chemical pit | 3-5 minutes |
| Exit Door | Pressure plates | Plates reset if a car leaves | 1-2 minutes |
The Final Room Layout
The finale takes place in the largest room in the game, and the ending depends on reading the layout correctly. The Professor's Study connects to the lab through a narrow hallway, while the Attic Vent above the lab gives the second car a separate route into the chamber. If you've been following a room-by-room route through the house, you'll recognize the familiar layout from earlier chapters, but the finale rearranges the furniture and adds new hazards that weren't there before. The Magnetic Charge Station sits in the center of the room, and the Sentry patrols the central corridor between the lab and the exit door.
How to Escape the Lab: The Escape Route Step by Step
The escape route is the core of the WheelMates ending walkthrough, and it's a linear sequence where timing matters more than speed. Each step resets if you get it wrong, and the resets are what cost most teams their first hour of attempts. Here's the step-by-step breakdown, based on community reports from the playtest and the official Discord.
Step 1 — Charge the Magnetic Charge Station
The first step is getting both cars onto the Magnetic Charge Station at the same moment. The station only activates when both cars are touching it, and the charge resets if either car leaves. The first car should drive onto the station and hold position, while the second car uses the Magnetic Wheels to climb the wall and drop onto the platform from above. This is the first real test of the co-op system, and it's where most teams lose their first attempt because they don't coordinate the drop timing.
Step 2 — Disable the Lab Sentry MK-1
Once the charge is complete, the Lab Sentry MK-1 activates and starts patrolling the corridor between the lab and the exit. The Sentry is a large robot with a fixed patrol pattern, and it can't be destroyed — instead, you need to use the Magnet Grab to pull the two power cells on opposite walls of the corridor. Pulling both cells at the same time opens the Sentry Door and lets you drive past. The timing is critical because the Sentry's patrol speed changes every time it reaches the end of the corridor, so you need to watch the pattern carefully and time your pulls.
Step 3 — The Rope-Swing Gauntlet
The third step is the Rope-Swing Gauntlet, a series of swinging platforms suspended above a pit of green chemical. Each car needs to use the Rope Swing gadget to cross between platforms, and the platforms swing in opposite directions, so the two cars have to coordinate their swings. If either car falls into the pit, the gauntlet resets and you have to start over. This is the most frustrating part of the finale, and it's the moment where most players search for a WheelMates stuck guide.
Step 4 — Open the Exit Door
The final step is the Exit Door, which requires two pressure plates on opposite sides of the door. The door opens only when both plates are held simultaneously, and it resets if either car leaves. Once the door opens, the Escaped cutscene plays and the team drives into the backyard. Here's the summary of the escape route:
| Step | Action | Gadget | Failure Reset |
|---|---|---|---|
| 1 | Charge the station | Magnetic Wheels | Charge resets |
| 2 | Disable the Sentry | Magnet Grab | Sentry catches a car |
| 3 | Swing the gauntlet | Rope Swing | Pit reset |
| 4 | Open the exit door | Pressure plates | Door resets |
Where to Go Next After the Escape Sequence
The escape sequence doesn't end the game — it opens the greenhouse room, which is the true final area. The Escaped cutscene shows both cars driving through the backyard into the professor's greenhouse, where the last collectible and the true ending wait. This is the part of the WheelMates ending walkthrough that most players miss, because they assume the credits roll right after the lab.
The Greenhouse and the Hidden Ending
The greenhouse is a small, peaceful room that unlocks only after the escape sequence. It contains the Professor's Journal, the final collectible in the game, and it triggers the true ending if you interact with it after collecting all the other journal pieces. According to community reports, the greenhouse also has a hidden door behind the workbench that leads to a bonus SD card. If you don't explore after the cutscene, you'll miss the last piece of the story and the final customization reward.
What Happens After the Credits
After the credits, the game returns you to the Main Menu, where you can replay any room you've already unlocked. The New Game mode isn't confirmed for the September 1 launch, but the developer's roadmap mentions post-launch content. If you're wondering where to go next after the ending, the answer is usually the collectible hunt — the lab and the greenhouse both have hidden rooms that only unlock after the finale, and they contain the last few SD cards and journal pieces. The journal collection guide lists every entry in order, so you can check what you're missing.
WheelMates Stuck Guide: Common Traps and How to Unstick
If you're stuck in the finale, you're not alone — the WheelMates stuck guide is one of the most requested topics in the community Discord. Based on community testing and player reports, the most common traps are the Sentry Door, the Rope-Swing Gauntlet, and the Exit Door plates. Each has a specific fix that isn't obvious on the first attempt.
The Sentry Door Won't Open
The most common trap is the Lab Sentry MK-1 where the shield won't open. The shield only opens when both power cells are pulled at the same time, but the cells are on opposite walls and the Sentry patrols between them. The solution is to have one car pull a cell while the other car distracts the Sentry by driving in a circle. If you try to pull both cells yourself, the Sentry will catch you and reset the sequence.
The Rope-Swing Gauntlet Timing
The Rope-Swing Gauntlet is the second most common stuck point. The platforms swing in opposite directions, and the timing is different for each car. The solution is to watch the platform's swing pattern and wait until it reaches its highest point before you swing. If you swing too early, you'll fall into the chemical pit and the gauntlet resets. This is the most timing-sensitive part of the finale, and it's worth practicing in the earlier rooms.
The Exit Door Plates
The Exit Door plates are the third common trap. The plates are on opposite sides of the door, and they reset if you move off them. The solution is to have one car hold the plate while the other drives through the door, then swap. The door stays open for a few seconds, so you need to be quick. This is the last step of the game, and it's a fitting test of the co-op teamwork you've built all along.
Here's the quick-reference table for the traps wired into the exit door plates — it breaks down each plate's trap type (pressure sensor, laser trip, or heat probe), the exact trigger condition, and the safe disarm sequence. Keep this table beside you as you approach: the plates re-arm in a fixed order after every failed attempt, so consulting it before each try prevents you from re-triggering the alarm that seals the lab corridor behind you and forces a full reset of the escape sequence.
| Trap | Issue | Solution |
|---|---|---|
| Sentry Door | Shield won't open | Pull both cells simultaneously |
| Rope-Swing Gauntlet | Car falls into pit | Time the swing's highest point |
| Exit Door Plates | Door resets | Hold one plate, swap after the door |
| Green Chemical Lock | Charge resets | Both cars stay on the station |
Escape Guide: Co-op Roles and Gadget Coordination
The finale is designed for two players, and the Friend's Pass system lets a friend join for free even if they don't own the game. The official WheelMates gameplay overview trailer shows the three core gadgets in action, and the finale is where they all come together. If you're playing solo, the game does support single-player, but the finale is significantly harder without a partner.
Role Splitting for the Finale
The most efficient approach is to split the roles: Player 1 handles the Magnetic Charge and the Sentry, while Player 2 handles the Rope-Swing Gauntlet and the Exit Door. This role split works because the two cars are never in the same room at the same time, so each player has a dedicated job. The table below shows the recommended split:
| Role | Primary Gadget | Responsibility |
|---|---|---|
| Player 1 | Magnetic Wheels | Charge the station, disable the Sentry |
| Player 2 | Rope Swing | Swing the gauntlet, open the door |
| Support | Magnet Grab | Pull cells, hold plates |
Gadget Coordination for the Finale
The gadget order matters more in the finale than anywhere else. The Magnetic Charge is the first gadget, and it's also the one that resets most often. The Magnet Grab is the second, and it requires the most timing. The Rope Swing is the third, and it's the one most players struggle with. If you're stuck, the best advice is to practice each gadget in isolation in the earlier rooms. The puzzle solutions guide covers the individual mechanics in detail, and it's worth reviewing before you attempt the finale.
Frequently Asked Questions
How long does the WheelMates ending walkthrough take?
The ending takes about 12-15 minutes for a coordinated team, but most players spend 30-40 minutes on the first attempt because of the Lab Sentry MK-1 and the Rope-Swing Gauntlet. The full game runs 6-8 hours, and the finale is the hardest stretch.
Can I play the ending solo?
Yes, WheelMates supports single-player, but the solo is much harder without a partner. The Friend's Pass lets a friend join for free, and the co-op mechanics are designed around two cars working in parallel. Solo players need to switch between cars, which makes the Rope-Swing Gauntlet and Exit Door timing trickier.
What happens after I escape the lab?
After the escape sequence, you unlock the greenhouse room, which contains the Professor's Journal and the final collectible. The greenhouse is the last stop for 100% completion and triggers the true ending if you have every journal piece. It also holds a hidden SD card.
Where do I find the hidden SD cards in the ending?
Both hidden SD cards require the Magnet Grab upgrade from the Maintenance Bay. The lab card sits behind the Sentry MK-1 chassis; the greenhouse second card hides behind the hidden door, only after activating both power cells in the Ventilation Shaft. Each unlocks a customization — Chrome Finish or Carbon Fiber Wrap — so grab both before the escape sequence.
Is the ending different in co-op vs solo?
The ending is the same in both modes, but co-op is smoother because the two cars can work in parallel. Solo requires switching between cars, which makes the Rope-Swing Gauntlet and the Exit Door significantly harder. Most players recommend the co-op route for the finale.